1

Valley Food Storage Product Review

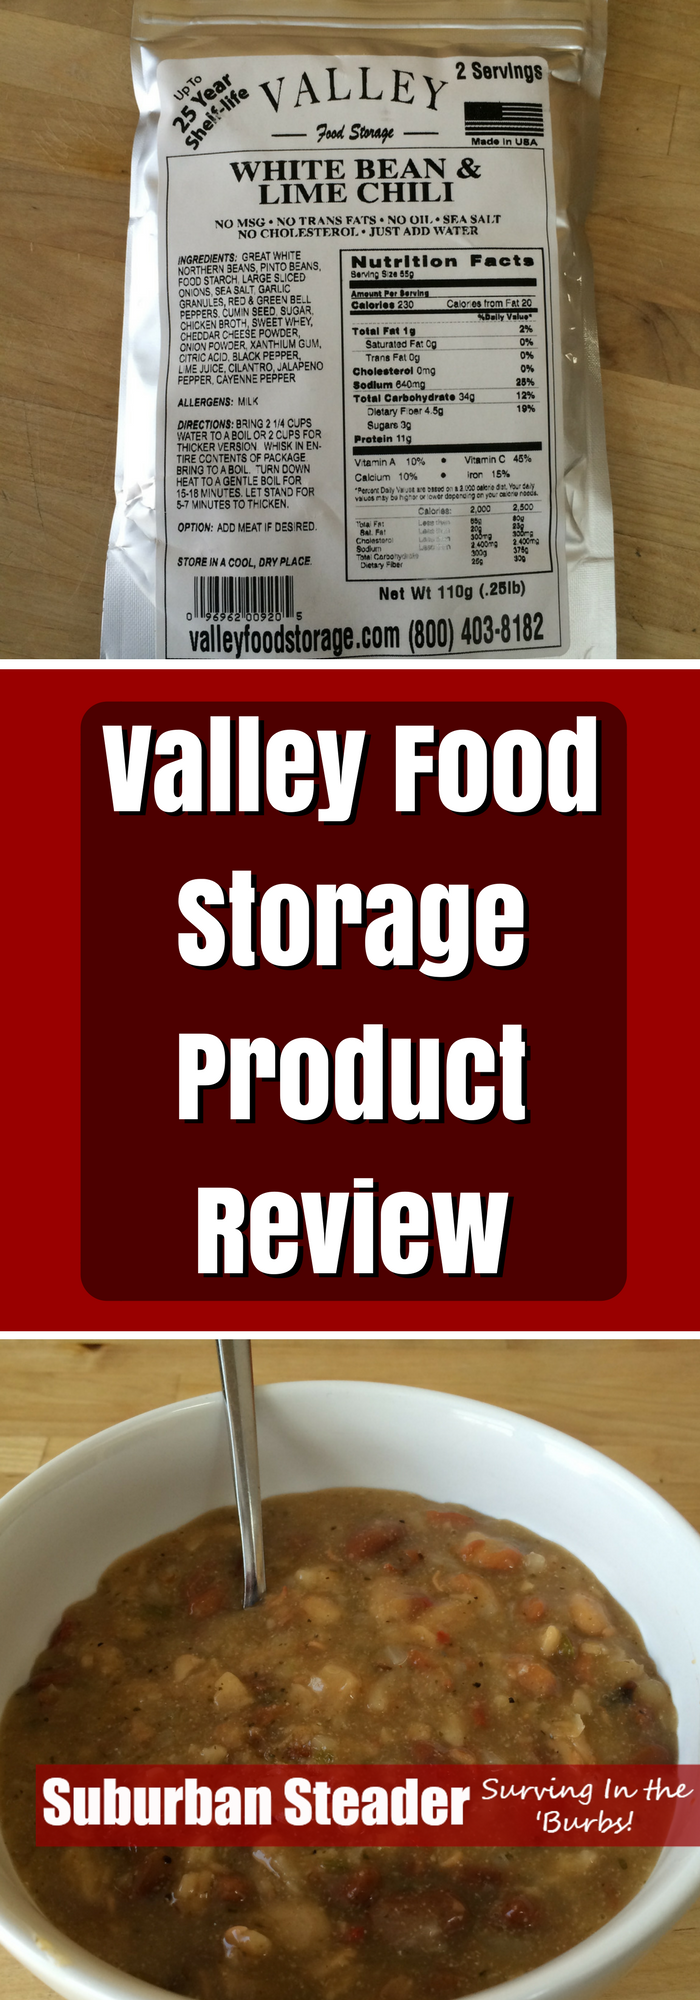
I hate long-term storage foods. If you know me, you know I like to cook and eat food that is made from scratch. Long-term storage food never tastes that way. So, to say I was skeptical when Valley Food Storage approached me and asked if I would try their White Bean & Lime Chili product would be an understatement. I had every expectation that I would greatly dislike their product and expected to write a negative review even though the reviews I read online were all positive.

Fortunately – for me and for Valley Food Storage – I was way wrong. Their product was great!

Valley Food Storage – Initial Impressions

Given my background, most ‘stored’ food I’ve eaten in the past has been backpacker-ish meaning you don’t need much heat or water to get going. That is not the case with Valley Food Storage White Bean & Lime Chili. The directions call for 2-1/4 cups of water and specify boiling it on a stove top for 15-18 minutes. You’re not doing that with a backpacking stove. This package was definitely a prepper food!

The second impression I had was the smell when you opened it. Normally, when you open other backpacking and prepper food, you don’t smell anything as tasty. After looking at the ingredient list, I realized there was a reason why this product smelled so good. Valley Food Storage uses ingredients that you can pronounce and know what they are! There weren’t a lot of processed additives or ingredients. Image that – natural food, squared away for 25 years of storage. Awesome!

Cooking Process

Cooking the Valley Food Storage White Bean & Lime Chili couldn’t have been easier. I brought the 2-1/4 cups of water to a boil on my stove, added the ingredients of the package, whisked it up and let it site in a gentle boil for about 17 or 18 minutes. At that point, I removed the chili from the heat and let it sit for about 5 minutes. I followed the process exactly as outlined on the bag and it couldn’t have been easier.

This slideshow requires JavaScript.

Taste and Wrap Up

Wow! Most long-term storage food I’ve tasted has been fairly bland. This chili was not. I really enjoyed this meal. It was fresh and tasty. The beans were a bit strong (for lack of a better word) and you could tell they were rehydrated. That being said, a little meat would have offset them perfectly and made this dish awesome.

What I did not taste was a strong salt content. That’s great. My experience has always been that meals like this are heavy in salt. This one from Valley Food Storage wasn’t. That was a pleasant surprise.

So, would I recommend the Valley Food Storage White Bean & Lime Chili? Absolutely! Moreover, I would recommend Valley Food Storage overall because of their ingredients and the wholesome taste of their products.

Valley Food Storage


Canning Equipment: Essentials For Food Preservation

I recently started a series on food preservation.  The first post was a general overview of the reasons people preserve food and the general processes that are used. It was a fairly comprehensive post while also staying pretty high-level.

We’re going to get a little deeper into the rabbit hole in this article. If you’re like me, you love gear – and kind of gear.  Equipment of any kind is my kryptonite when I’m getting into a new hobby or passion.

Today we’re going to feed that need for gear with an article all about essential canning equipment – what you need, why you need it, what it does and where you can buy it.

Go grab a cup of coffee, sit back and relax – it’s gonna get fun!

Canning Food Preservation Basics – A Refresher

The basics of canning involve placing the food you want to store in a can or jar and then raising the temperature to a point where microorganisms are destroyed and food-spoiling enzymes are rendered inactive.

The raised temperature also drives air from the container which causes the can or jar to vacuum seal as it cools.

The vacuum seal serves three purposes:

  1. It holds the lid on the jar
  2. It prevents the food from drying out
  3. It prevents contaminants from entering the jar

At this point, the food is considered “commercially sterile” because all disease causing organisms have been killed.

Some organisms do survive, however. And they can cause the food to spoil – but only if it is stored at temperatures in excess of 95oF.

The good news is that this spoilage is easy to recognize – gases or bad odors will be present – and it will not cause illness.

Essential Canning Equipment

Gear is what makes guys like me thrive.  I love tools of all kind – from the kitchen to the garage. I collect, study and enjoy working with many kind of tools.

The tools described below are the essential canning equipment for any kitchen.

Ball Blue Book Guide To Preserving – First and foremost, get your hands on a good recipe book. The Ball Blue Book Guide To Preserving is considered the absolute best in the industry. The book is being published in its 125th anniversary edition.  That fact alone should give you an idea of how much authority this book has in the industry. Be safe and get this book before you get anything else.

Canning Jars – Believe it or not, specific canning jars must be used to properly can. These jars must be able to withstand the low temperatures of freezing and the high temperatures involved in steam pressure processing. Not surprisingly, these jars will be labeled as canning and/or freezing jars. They commonly come in half-pint, pint, quart and half-gallon sizes with regular and wide-mouth varieties available. You should make sure you’re using the size specified in your tested directions. Sealing edges need to be free of cracks or chips.

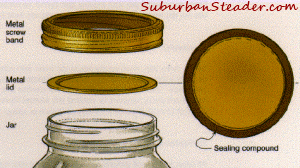
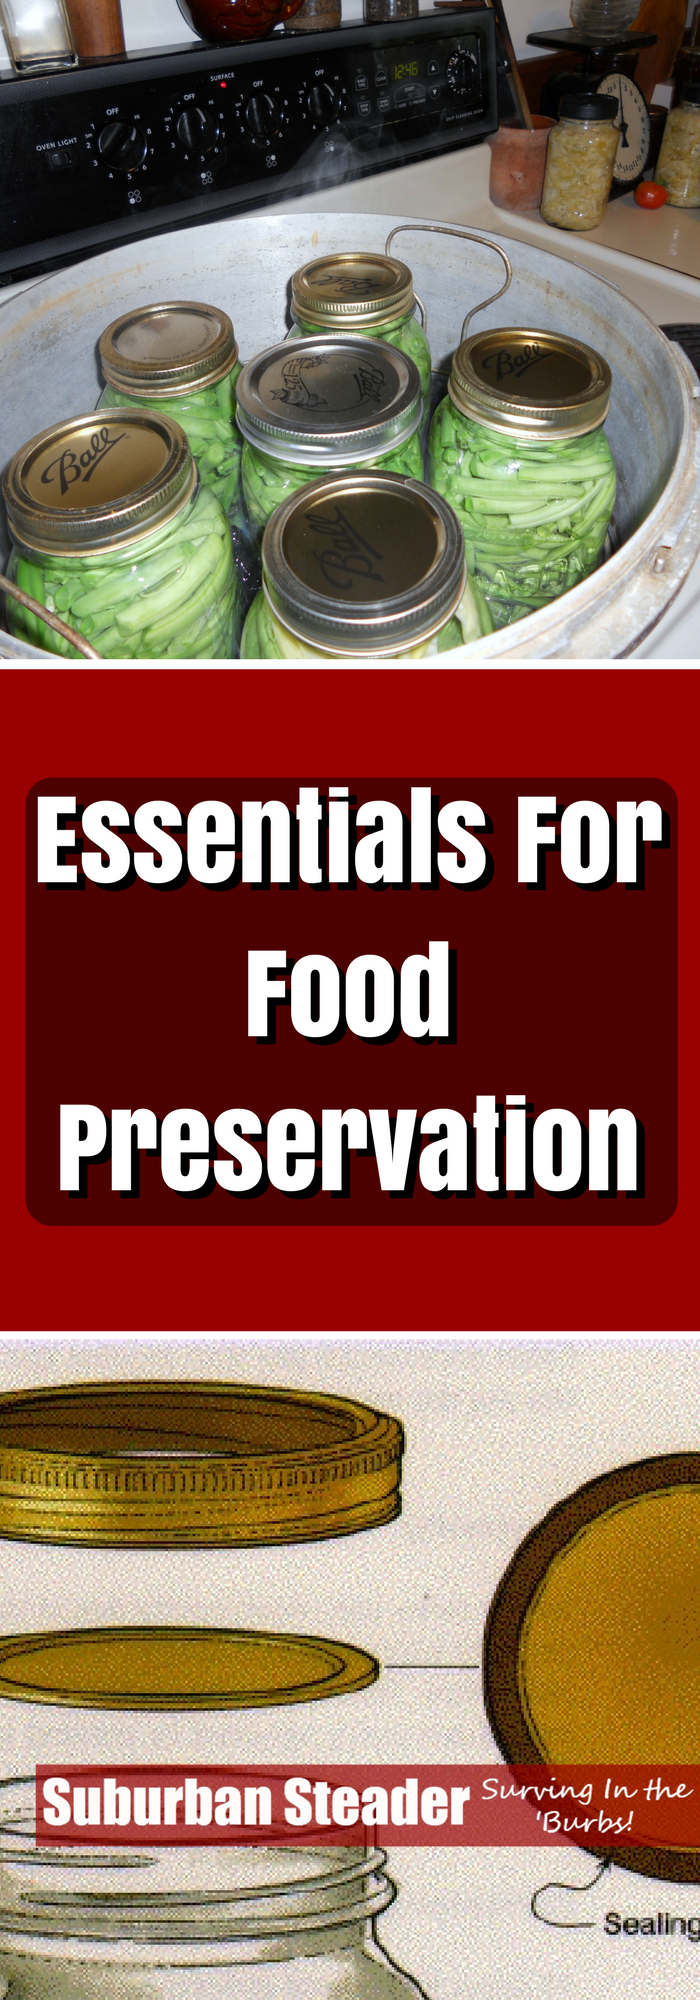
2 Piece Closure Lids - Essential Canning EquipmentTwo-Piece Closures – Home canners typically use a two-piece closure system which consists of a metal lid and a metal band. The metal lid has a rubber-like sealing compound that interfaces with the jar lid. The metal band is tightened to hold the metal lid in place. Lids are a “one and done” item meaning they are only used once. Bands can be used over and over again assuming they are washed and dried between uses.

Jar Lifter – This tool is used to lift any size canning jar, for both placing in or removing from boiling water. Quality units are metal with rubber coating to make sure nothing slips. Steer clear of the plastic versions – they can crack or break much easier than their metal counterparts.

Jar Funnel – Used to fill the jars, this simple tool helps keep the jar rim clean. Keeping the jar rim clean is important because the quality of your seal is directly related to the cleanliness of the jar rim.

Lid Wand – Metal lids get quite hot when they are in hot water. This magnetic tool will lift the lids and keep burns at bay.

Headspace Gauge – As the name invokes, this tool allows you to measure the required headspace before you close the jars.

Bubble Freer – A plastic tool that allows you to remove trapped bubbles in the jar prior to starting the canning process.  This tool and the headspace gauge are typically on in the same.

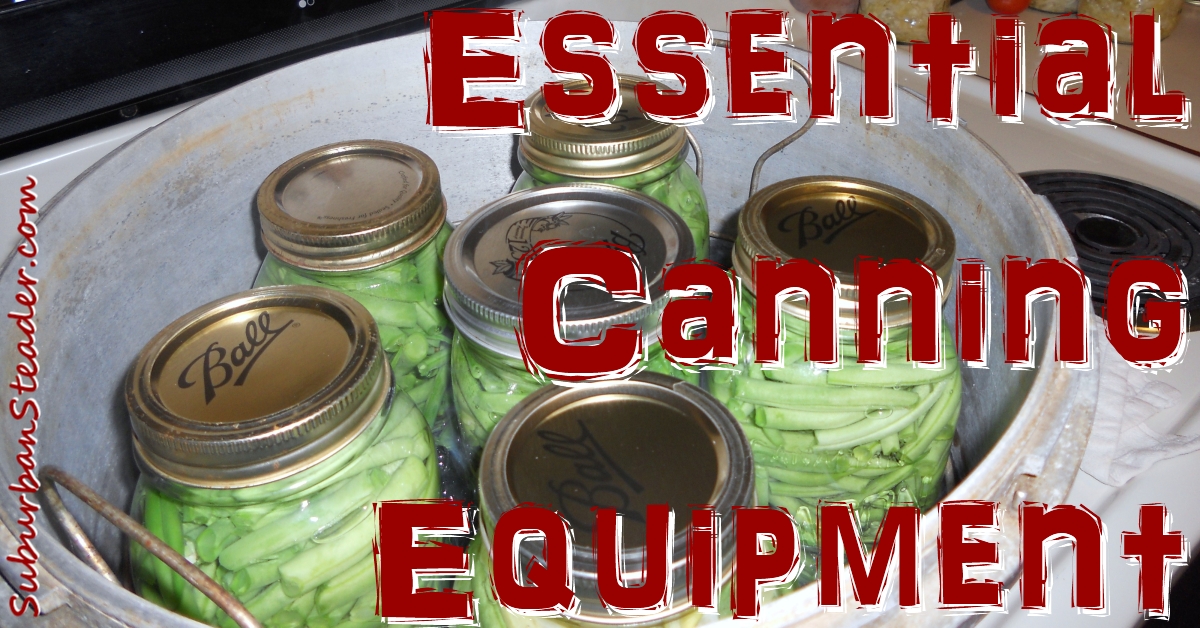
Boiling Water Canner – These canners, which are used to process acidic foods (tomatoes, pickles, jellied fruit products, etc) are fairly simple. The only requirements are that they must have lids and must be capable of holding a rack of canning jars with enough room to cover the jars with 1 to 2-inches of water.

Pressure Canner – As you remember from my Introduction To Food Preservation post, low acid foods are pressure canned. This canner must be deep enough so that the rack and jars don’t interfere with the lid locking mechanism. The lid can seal either through a rubber gasket or a metal-to-metal seal. It also must have a vent pipe and safety valve.

Dial Gauge Canner – These canners are designed to measure pressure in Pounds per Square I – PSI. A small vent port holds a counterweight or petcock which opens and closes. These don’t jiggle or rock unless the pressure is very high. These should be tested annually before canning season. Most Cooperative Extension Service offices offer this capability or procedures on how to test them yourselves.

Weight Gauge Canner – Unlike their gauged counterparts, this type of canner does not need to be testing annually. Users should check the gaskets and other parts, however. Pressure is controlled on this type of canner by placing weights over the vent port. The weight will eventually be moved up as the pressure increases and will allow a constant pressure to be maintained.

Wrap Up

While the list above may seem intimidating, it’s not that difficult – or expensive – to get started in canning. First, you have to decide on whether you’ll be using a Boiler Water Canner or a Pressure Canner. After that, you’ll need a few specific tools and canning equipment. The rest is up to you.

Canning is a relatively inexpensive skill set to develop and can have dramatically high return on investment when you have put away enough food to survive your disaster of choice.

What equipment do you use to can? Let us know in the comments or on our Facebook Page.
Essential Canning Equipment

Essential Canning Equipment


Introduction To Food Preservation

Why Do People Preserve Food?

Food preservation has been a mainstay of self-sufficiency and survival from almost the beginning.  Early on, folks would have times of plenty and times of scarcity.  The need to stretch the times of plenty through the times of scarcity was the catalyst to early man finding and perfecting food preservation methods.  As years went on and technology improved, these methods adapted to the ones commonly used today.

Folks these days – whether they are farmers, suburban homesteaders, or simply preparedness minded individuals – preserve their food for a variety of reasons.  First and foremost, we still fight that mentality of stretching the bounty into the thin times.  Many people also like to know exactly what they are eating and how it was handled.  They can ensure this process more easily by growing and preserving their own food.

Major Causes Of Food Spoilage

Why do we need to preserve food?  Unfortunately, food has a pretty short shelf-life and begins to degrade almost instantaneously from the moment it is harvest or slaughtered.  The spoilage results from multiple things including physical damage, chemical damage and/or microbial growth.

Physical Damage

Physical damage can run the gambit in terms of what it includes.  It is most usually revolves around punctures, bruising or damage caused by insects or other animals.  This damage can cause water loss from the product and also provide places for microorganisms to start breeding.

Chemical Changes

Enzymes

Enzymes are chemicals that all plants and animals have.  They help them grow, function and mature.  Unfortunately, the enzymes in plants continue to work even after harvest and will change flavor and texture if not stopped.  Enzymes don’t like heat, so blanching them (exposing them to boiling water or stream for a specified time) tends to do the trick here.

Oxidation

The presence of oxygen can cause a chemical change in food in much the same way it causes rust to appear on lead.  If left unchecked, the oxidation process can cause food to go rancid.  Heat will exacerbate this situation.  Likewise, cold temps can slow down the process but will not stop it completely, even in a freezing environment.  The oxidation process is one of the prime reason vacuum-sealed containers are used for long-term storage.

Microbial Growth

The three main types of microorganisms that can cause food to go bad are mold, yeast and bacteria:

Molds

Have you ever seen a piece of bread with a fuzzy bluish-green bump suddenly on it?  Well then, you’ve seen mold.  Mold is a non-discriminating spoilage method.  It will destroy acid foods like fruits and tomatoes as easily as it will spoil low acid foods like meat and vegetables.  Moisture, or the lack there of, seem to be no match for it.  The only thing that will sufficiently kill mold is heating the food to the range of 140oF to 190oF.

Yeast

Much like molds, yeast is an equal opportunity food spoiler for both high and low acid foods.  You’ll know your food was spoiled by yeast if it is slimy or bubbly.  Much like mold, it can be eradicated when exposed to temperatures in the 140oF to 190oF range.

Bacteria

Bacteria is the rabbit equivalent of food spoilage.  It can multiply rapidly in food and can grow in almost any condition.  It does, however, prefer a warm, moist environment.  It can be killed by heating but some spores require a temperature higher than that of boiling water, hence the need to pressure can some foods.

Types Of Food Preservation

There are quite a few different types of food preservation methods with the most common being canning, freezing and drying.  Each method is chosen based upon what food you are preserving.  Not all methods work for all food – for example, not all food can be canned.  However, any food can be frozen safely.  Whether the quality of the food suffers after it is frozen is up for debate and will be discussed in a later article.  Picking the right type of food preservation methodology will both keep your food safe and provide good quality when you are ready to use it.

That being said, here’s a little more info on different food preservation methods:

Canning (High Acid Foods)

Boiling water canners work great for goods with a high natural acidity.  Fruits and tomatoes with acid added to them (via lemon juice, citric acid or vinegar) fall into this category.  The heat involved in this process will destroy the yeasts and molds that may be present while also forcing oxygen from the jars.  The end result is a tight vacuum-sealed container which cannot be contaminated.

Canning (Low Acid Foods)

Low acid foods such as vegetables and meats must be canned in a pressure cooker.  Much like in canning high acid foods, the heat from this process will destroy any yeast, mold, bacteria or bacteria spores that are present.  You will also get tight vacuum-sealed containers from this process.

Pickling

Raising the acidity in food is known as pickling.  You can raise the acidity by adding vinegar to the food or allowing it to ferment.  Apple cider vinegar or distilled white vinegar can both be used in pickling and are selected based upon the taste profile you are trying to achieve.  After pickling, you are able to can the food in a boiling water canner for long-term storage.

Jellied Fruit Products

Microbial growth is limited in jellied fruit products by the acid in the fruit.  Sugar and/or pectin is added to bind up water in the fruit which removes any chance of a microbe to continue living.  After that, yeast and mold are destroyed by heating the jellied fruit in a boiling water canner and vacuum-sealing the container.

Freezing

Plain and simple, freezing reduces the temperature of the food so low that microbial life cannot exist.  The water in the food is frozen and, thus, the microbes cannot live.  Freezing can also have detrimental effects as well.  Because the water in the food is frozen, it expands and can cause some physical to damage to food over time.

Drying

Drying simply removes the moisture from the food which prevents any microbial growth to occur.

Wrap-Up

I hope you enjoyed this introduction to food preservation.  There is, obviously, a lot of information to cover on this topic and I will be doing my best to get it out to you.  Keep an eye out for our next article where we will got more in-depth into the canning process.

And, as always, if you have any questions, please feel free to ask them in the comments below or on Facebook.
Introduction To Food Preservation

Introduction To Food Preservation